In this post explain how to create a Db2 database Db2 the IBM Cloud.
As a prerequisite, you must have an IBM Cloud account. In our case, we have a free account, similar to those provided by other cloud providers, where you have a trial period to try out some of their services for free.
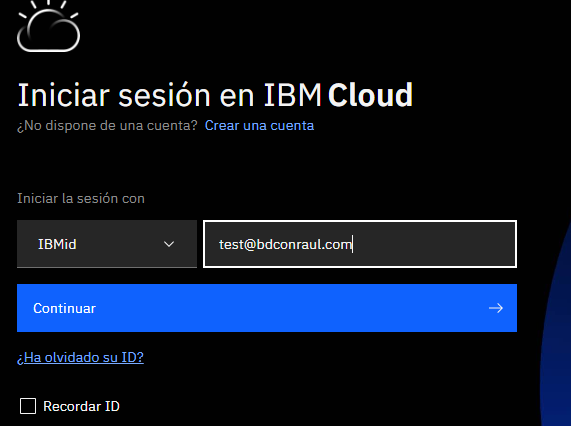
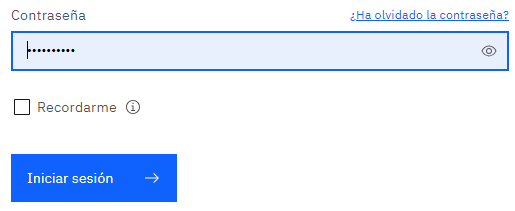
Iniciamos la sesión en el Cloud de IBM, en la siguiente dirección donde introducimos el usuario y password con el que nos hemos dado de alta.
To create the database there are different ways to reach the resource that manages the databases in the Cloud. It is possible to get there through the Service Catalog, where all the products that can be deployed in the IBM Cloud are shown.
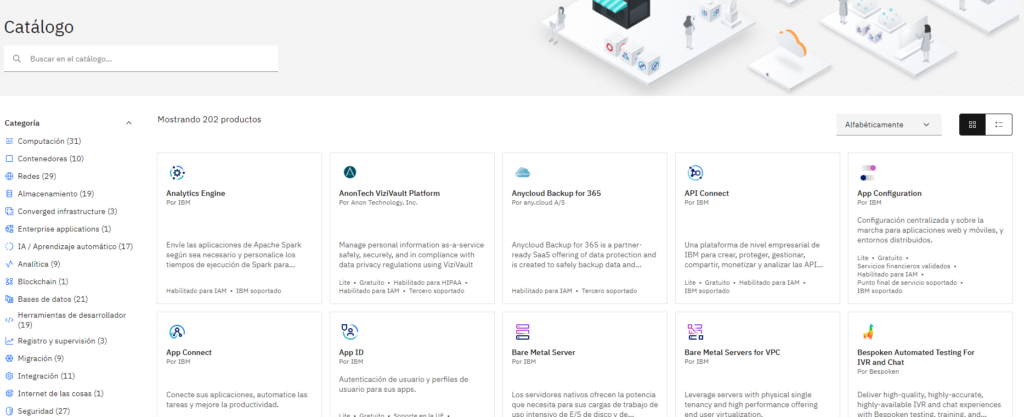
Click on the "Databases" option and look for the Db2 option.
It will ask us to fill in the necessary information for what will be our Db2 database Db2 the cloud.
Data to fill in:
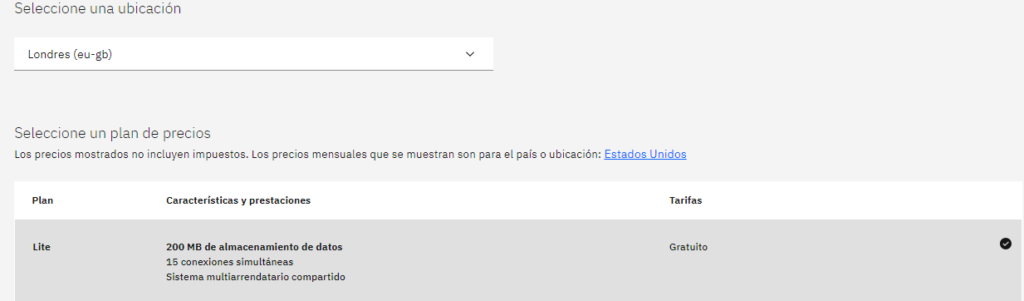
Location - > Choose a location. For latency it is usually indicated a nearby location, therefore we choose Europe, in our case London.
Plan -> If you do not have any plan in the IBM Cloud is very important to choose the Lite option, free version, otherwise you will receive invoices for the rate and use you have chosen, which will be charged to your bank details associated with your account previously provided, therefore in our case we choose the LITE option.
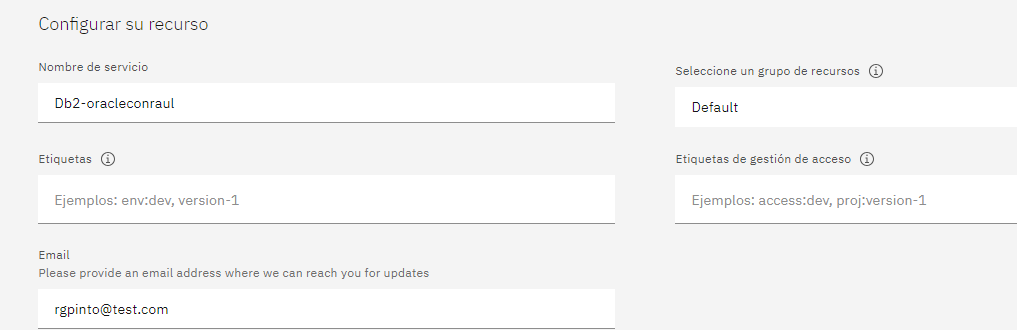
Service name-> We give a name to the Database service.
Label-> If we want to "order services". In our case we leave it blank.
We attach the e-mail where we will receive the notifications.
Our configuration would be as follows:
When we click on the create button, we will be directed to the "Resource List" page where it will appear that our database is being created".

After a few minutes, we will have our database deployed and ready to enjoy it.

To graphically enter our database, simply click on the name of the database and then on the "Go to UI" button.
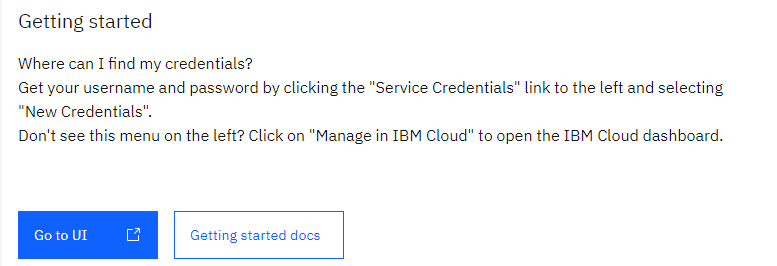
This allows us to graphically manage the newly created database.
Let's create a test table. Click on the Data button, third button from the top and click on "Tables".
Click on our schema (otherwise the schema will be similar to the one in the image but not strictly the same) and click on the "New table" button.
Example of a new table:
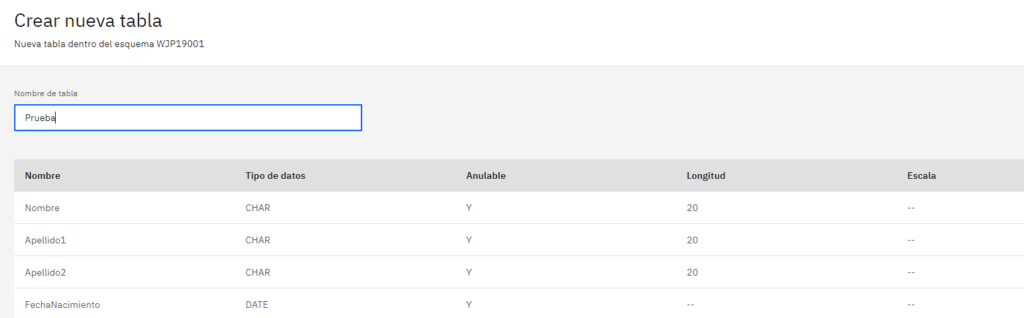
Click on the Create button.

Our created table appears.
Let's now insert data and query it.
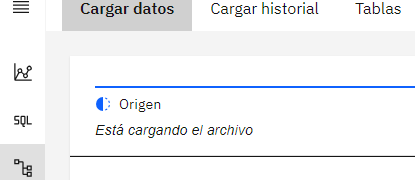
To do this, we click on the SQL button, display the tables of our schema and we see that we have our new table just created. We launch a DML statement, specifically an INSERT to populate the table.
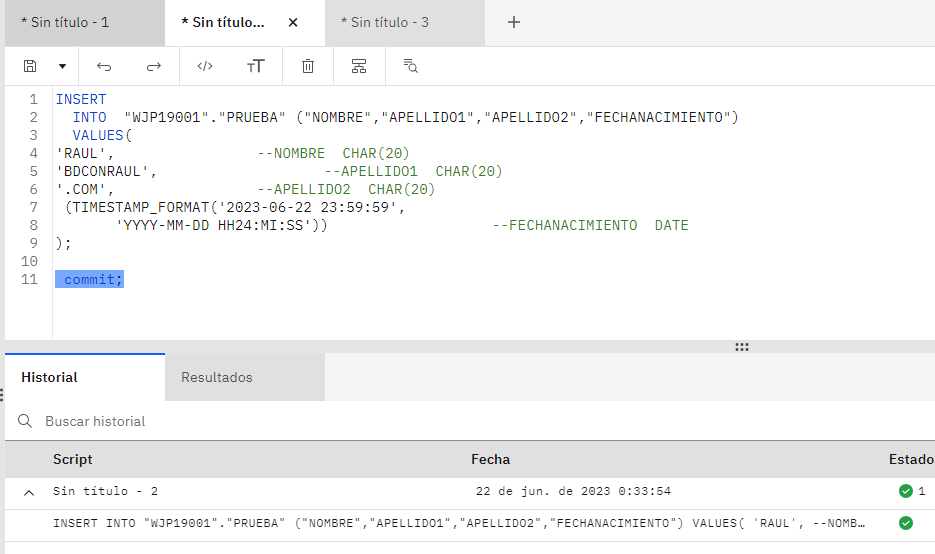
If everything is correct, the status of the operation will be OK, a green flag. Otherwise, a red query status will appear indicating that there is a problem and what the problem is so that it can be corrected.
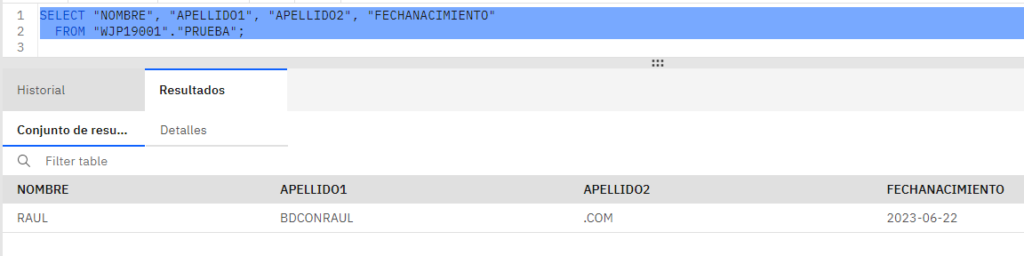
Now we can see the inserted data. To do this we can launch a SQL query.
This post only a brief overview of the options available for deploying a Db2 database Db2 the IBM Cloud. For more detailed information on all the options IBM offers, please refer to the official documentation.